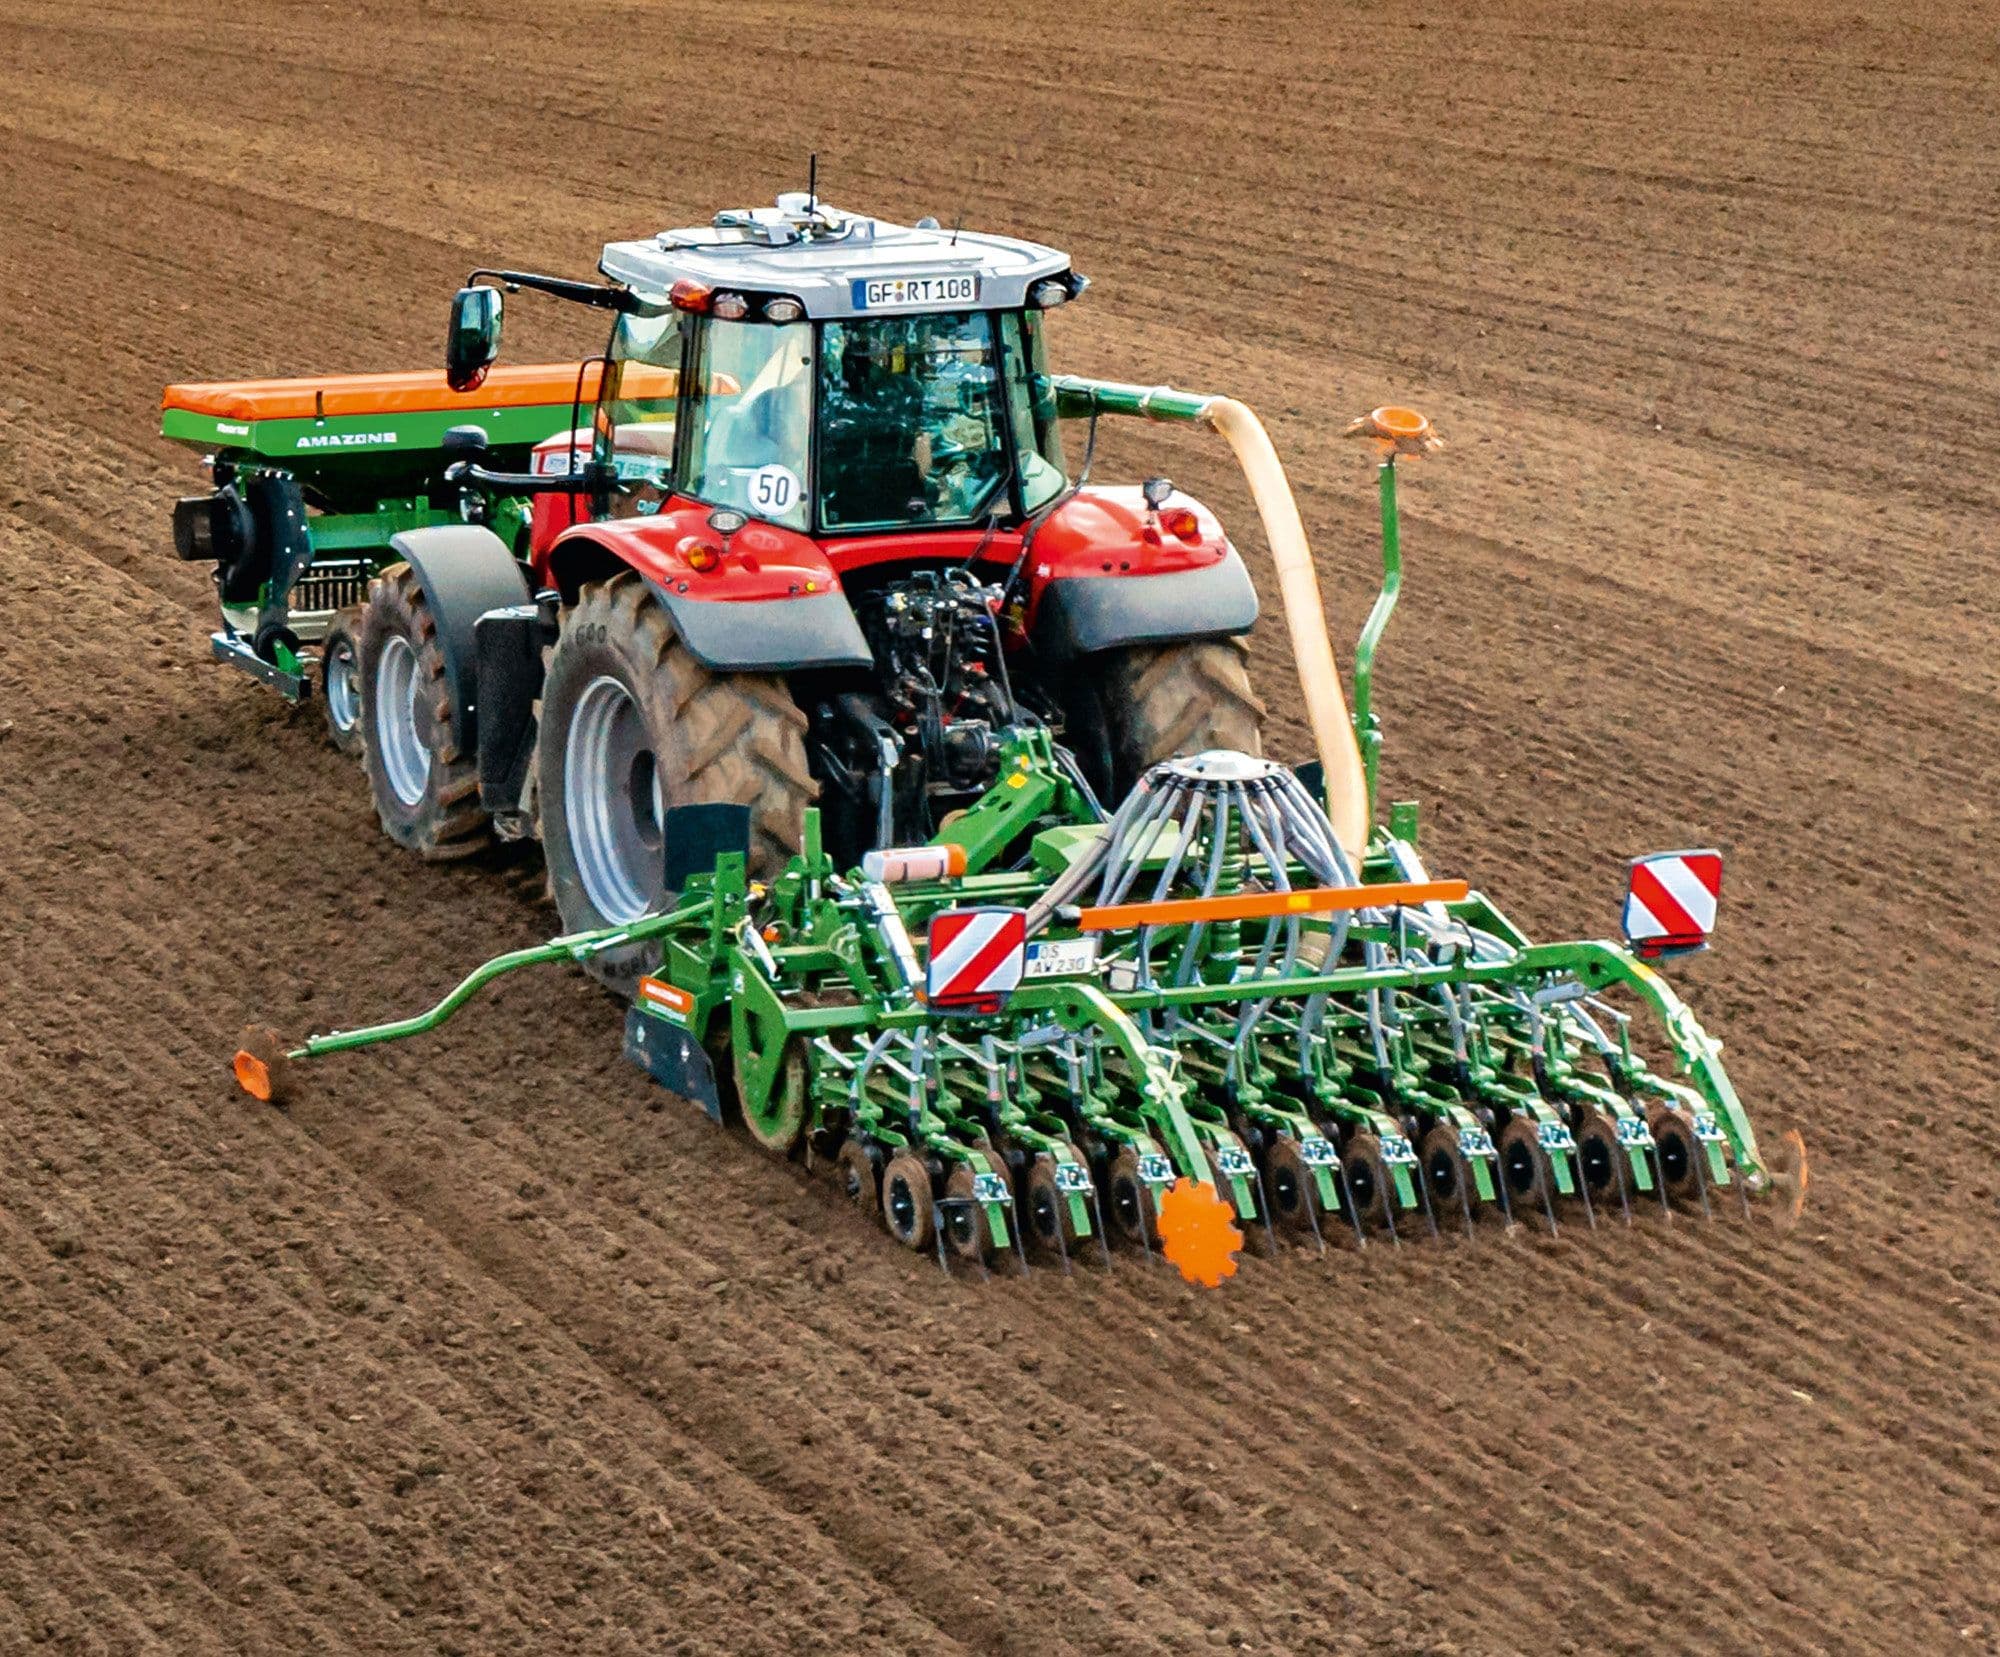
There’s something timeless about the start of a new planting season — the smell of freshly tilled soil, the hum of a well-tuned tractor, and the satisfying rhythm of the seed drill working its way across the field. Whether you’re running a modern pneumatic drill or a classic Massey Harris, Ransomes, Accord or Fiona box drill, the principles behind perfect seed placement haven’t changed much in decades.
It all comes down to understanding your seed drill, taking the time to calibrate properly, and knowing how seed and fertiliser rates work together to set your crop up for success.
1. Understanding Your Seed Drill
The seed drill revolutionised farming when it replaced hand-broadcasting and seed fiddle. From the early horse-drawn models to the classic Massey Ferguson and International drills of the last century, and right through to modern GPS-guided planters, the principle remains the same: place each seed at the right depth and spacing for consistent emergence.
Older drills — such as those made by Ferguson, Massey Ferguson, Ransomes, and Bamford — use mechanical metering systems with fluted rollers or seed cups. These regulate how much seed passes through the feed shafts as you move forward. With experience, you quickly learn how small adjustments in the gearbox, drive chains, or seed flutes can make all the difference.
Even in the age of electronics, there’s something reassuring about the precision and reliability of a well-maintained vintage drill doing its job perfectly.
2. Calibration: The Key to Accuracy
Calibration is one of the most overlooked yet crucial steps in using a seed drill. Without it, even the best drill in the world can waste seed, get it wrong too much seed fighting for space and too little……. well both will leave you scratching your head at emergence.
Calibration means checking that your drill is delivering the correct amount of seed per hectare. Small errors can add up quickly, especially over large areas.
How to Calibrate a Seed Drill:
Check your seed rate chart (often printed in the operators manual).
Fill the hopper with your chosen seed.
Jack up one wheel so it can be turned by hand.
Collect seed from a set number of outlets while turning the wheel a known number of revolutions.
Weigh the seed and calculate the rate per hectare.
Adjust settings and repeat until the rate matches your target.
Read the manual for the correct procedures for your machine
Often it’s simple, satisfying, and a great way to ensure your drill performs as it should.
3. Getting Seed Rates Right
Your seed rate determines your final plant population — and ultimately your yield potential. It’s influenced by variety, soil type, drilling date, and conditions.
Typical guidelines:
Wheat: 150–200 kg/ha
Barley: 125–175 kg/ha
Oats: 125–200 kg/ha
Grass (undersowing): 8–12 kg/ha
Pro tip: Always check for even flow across all coulters. Uneven seeding can cause striping in the crop — often due to worn feed rollers or blocked pipes.
4. Applying Fertiliser with the Drill
Many combination drills can apply fertiliser and seed in one pass — improving efficiency and helping early crop growth. However, proper calibration matters here, too.
Tips for fertiliser drilling:
Offset fertiliser bands slightly from the seed rows.
Use balanced compounds (e.g. 20-10-10 or 14-14-14).
Avoid direct seed-fertiliser contact to prevent scorching.
Clean hoppers thoroughly after use to avoid corrosion, especially in older metal boxes.
This method has stood the test of time — it’s efficient, cost-effective, and ideal for farmers who like doing things properly.
5. The Benefits of Undersowing
Undersowing is one of those old-school practices making a big comeback — and for good reason. It involves sowing a grass or clover crop beneath a cereal, helping to protect soil, improve fertility, and provide post-harvest grazing.
Farmers traditionally undersowed grass seed with spring barley so that after harvest, a fresh green sward was already established.
Best practices for undersowing:
Use shade-tolerant grass or clover varieties.
Calibrate your drill for lighter rates (8–12 kg/ha).
Avoid excessive nitrogen fertiliser at drilling.
Roll lightly for good seed-to-soil contact.
Some older drills even came with twin hoppers or “small-seed boxes” specifically designed for undersowing — proof that regenerative farming isn’t new; it’s just good farming.
6. Maintaining Vintage Seed Drills
If you’re lucky enough to own a vintage drill, treat it with care and it’ll still outlast some modern gear.
Maintenance checklist:
Empty hoppers after each use.
Brush and oil all moving parts.
Check for rust in feed rollers and shafts.
Grease chains and bearings.
Store under cover to protect from moisture.
With proper care — and the right manuals from Agrimanuals — even a 60-year-old drill can perform like new.
7. Blending Old Wisdom with Modern Practice
There’s a deep satisfaction in getting your seed drill settings just right. The even hum of the mechanism, the smooth flow of seed, and the sight of perfect rows stretching across a field — it’s proof of farming skill passed down through generations.
By paying attention to calibration, seed rate, fertiliser, and undersowing, you’re doing more than just planting — you’re preserving a way of farming built on knowledge, precision, and respect for the land.
Whether you’re running a restored Tive, a reliable Kverneland Accord, or a new Amazone, Horsch or Sulky with a few seasons under its belt, one thing remains true: a well-drilled crop is a well-grown crop.
🌾 About Agrimanuals
At Agrimanuals, we specialise in Operators Manuals, Parts Books and Workshop Manuals, and other essential farming literature — helping farmers and contactors keep machinery running perfectly.
Across all manufacturers, the manuals provide the knowledge needed to calibrate, repair, and operate your machines the way they were meant to be used.
Explore our collection today at Agrimanuals.com and keep farming — one manual at a time.
